Lighting Soffits

Master Bedroom Finished Soffit

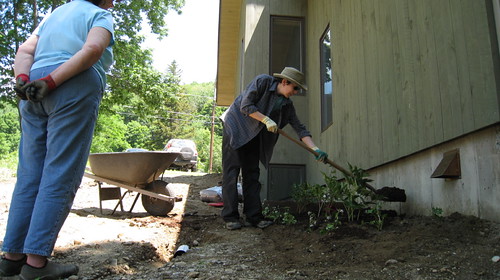
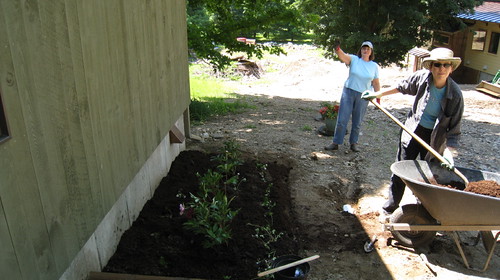
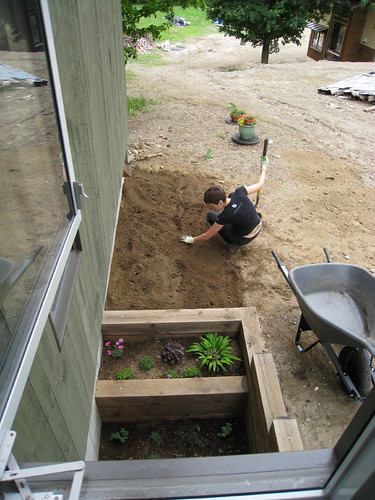
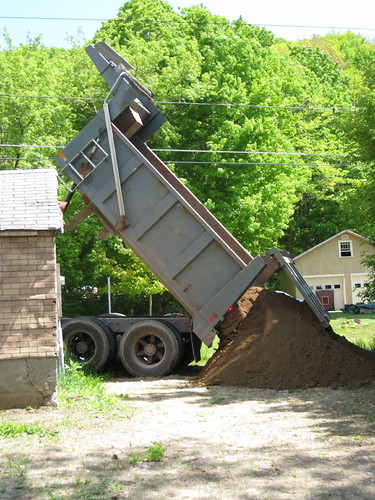
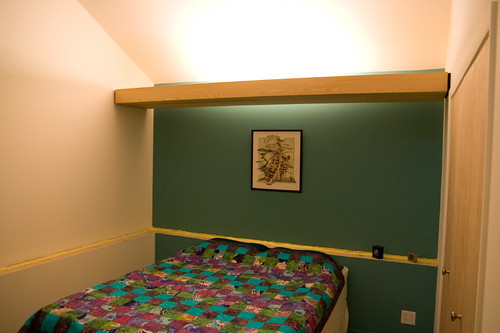
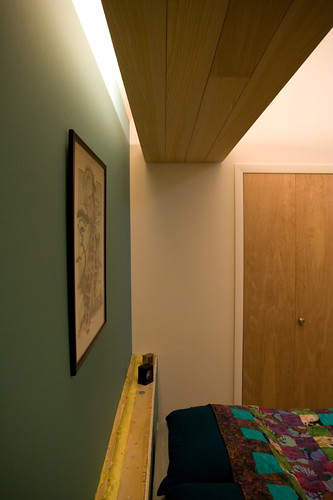
While I’ve been tackling the landscaping (slow-going on account of all the rain, plus an unfortunate stormwater runoff problem we need to manage), my husband and father-in-law have been working on the built-in lighting soffits for the entryway and both bedrooms. Inspired by a design from the book “The Not-So-Big House,” these wooden structures provide a feeling of coziness by lowering the ceiling height in those areas, while also camouflaging efficient fluorescent tubes for a gentle, indirect light. They also help us toward our minimum number of built-in fluorescent lights needed to earn the house’s Energy Star rating through Efficiency Vermont.

Installation:

Entryway soffit: propping it up
Propping it up
Suspended soffit
Top View
Top view
Tubes wired in
Tubes wired in

 The lighting turned out to be a little intense with both tubes – we’ve rewired it with only a single T12 40-watt bulb in the center now.

Edge detail
Edge detail
From below
Result!
Result!

Guest room soffit:

Eventually, a similar system will be used in the main living space above the kitchen, office and home theater areas. Through the magic of Photoshop, we can see how that might look:

Office Lighting Soffit Mockup - Photoshopped

For now, we’ve had some fun with a collection of inexpensive paper lanterns from IKEA piled up above the pantry:

Spore type paper lanterns
Paper lantern experiment

The Internet loves VT Eco Builder!

Green building blog Jetson Green featured our house on the front page today! Check out the whole story here: 

“Vermont Green Home Features Contemporary Style”

Thanks for the love, guys! It’s always good to get the word out that affordable, sustainable and stylish green building CAN be done.


Our house’s previous web cameos:

Apartment Therapy Re-Nest | Green Tour: Our Readers Build in Vermont

Dwell/AIA “How Green Are You?” Contest | In-Town Building

BoingBoing | Patchwork kitchen floor made from Marmoleum ends

materialicious | linoleum remnant kitchen floor

_______________

Update:

A recent issue of the Boston Globe Magazine featured a nice article about our house, with some great professional photos to boot. (registration is free on the Boston.com website)

The article is available online at: http://tinyurl.com/4yzkbj
The photo gallery is here: http://tinyurl.com/4h4t3g

Gardening: Peony Bed

With some nice weather this weekend, it was a good time to put in those peonies promised in the previous post! We purchased 3 varieties: ‘Nippon Beauty,’ ‘Doreen’ and ‘Peter Brand’ –  two dark pink, and one light. Our head gardener also brought over some of her own hardy geraniums that will hopefully fill in and create a nice ground cover.

Spreading compost

Shoveling compost

We spread a layer of compost over the top to enrich the soil and keep it from cracking.

Finished garden

Finished peony bed with step gardens

We also topped off the step gardens with some mulch made of cocoa shells, a recycled by-product of the chocolate-making process. It helps conserve water by keeping the moisture in the soil from evaporating too quickly, and gives the garden a nice finished appearance. And makes it smell like chocolate.

Peony bud

We’ve got tomato sign! The first little fruits showed up on our Sungold tomatoes this week. But don’t break out the basil and mozzarella just yet – they’re only the size of a marble.

Tomatoes

Dog Cubby

Jumping in

Before we built our house, our dog Archie slept in our room in his plastic travel crate – not the classiest feature for a modern home! We wanted a place for him to sleep that would be comfortable and out of the way, and also blend in with the decor.

Our solution was the “dog cubby” – a built-in closet in the bedroom that recedes right into the wall, occupying the same space as the kitchen pantry on the other side. 

Archie in cubby

It was made as a single unit at the shop, and pushed into a cutout in the wall: 

Drywall hole

We had originally planned to build a door, but found that Arch likes his bed so much that he won’t wander out at night.

Demonstrating the wrong way to use the dog cubby:

Garden Update: Soil Prep

It was a bit of a rainy weekend, so there wasn’t too much major gardening going on. Albo installed a new hose reel in the back (got to keep that hose clutter under control), and his mum brought a gift of two tomato plants (Sungold and Pruden’s Purple) and gigantic containers to grow them in. Looking forward to some colorful salads this summer!

every day I'm shoveling

The step gardens are settling in nicely, and I started doing some soil prep on the west side for a future peony border. This involved digging out some very sandy, rocky soil and filling in with 75% topsoil and 25% composted cow manure. That’ll be a much happier environment for our plants!

Gardening: Containers and Step Gardens

Remember when we built these? It’s finally time to fill them in! Inspired by a Japanese house design book, we built these “step gardens” to provide a beautiful view from our downstairs windows. Eventually we’ll be able to enjoy them from our soaking tub, but right now those rooms are our storage and workshop areas. 

First step: get topsoil and moo-doo to fill in the wooden retaining walls! Two days of hard work with the wheelbarrow – topsoil may be the heaviest substance in the universe.

Went shopping for plants with the Garden Designer (aka Albo’s mum – she’s a genius!)… picked up our perennials from Rocky Dale Gardens, and annuals from New Leaf Organics. Also got a few transplants from our folks- a little bit of home.

The west side is very shady – we laid out woodland plants that don’t need much sun:

Dug in everything this morning.


[Click to View plant “Notes” at flickr]

Hostas, thyme, saxifrage and more for the sunnier side:


[Click to View plant “Notes” at flickr]

Containers for the front entry:

And a few for the sunny back garden – calibrachoa, impatiens and coleus.

We can’t wait to do more, but we don’t want to get in the way of building the deck and front steps – so the gardeners will tread carefully for now!