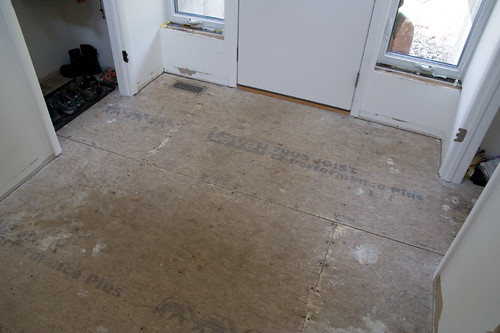
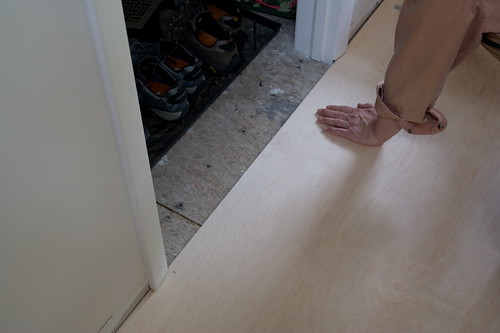
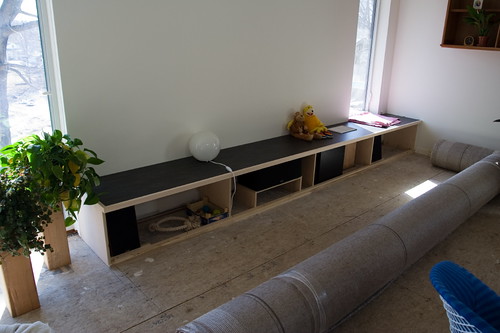
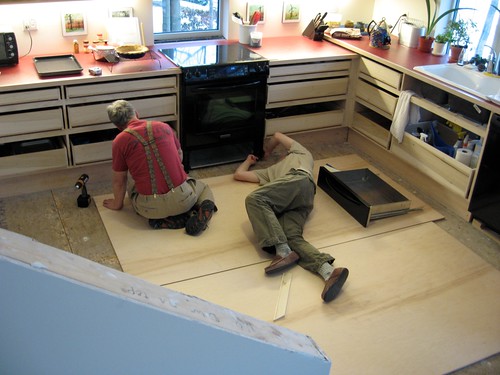
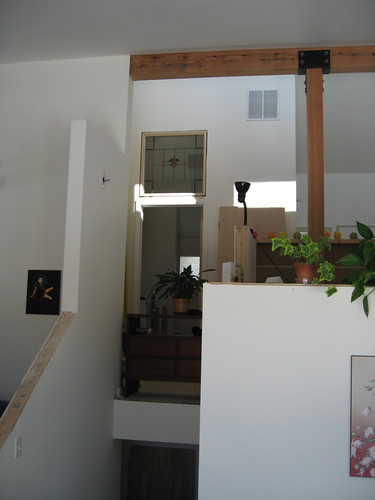
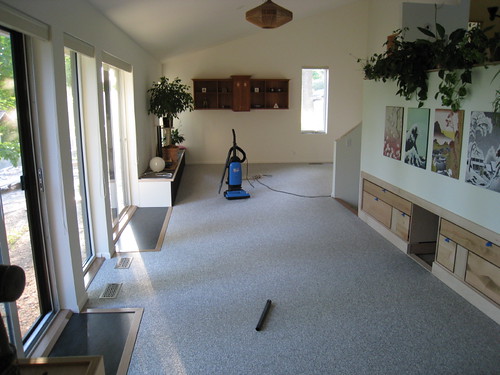
After 8 months or so of living with the rough and ready OSB floor, we thought it was about time to get the carpet installed. Of course it took that long just to prepare for it, since essentially everything should be done before you put it down.
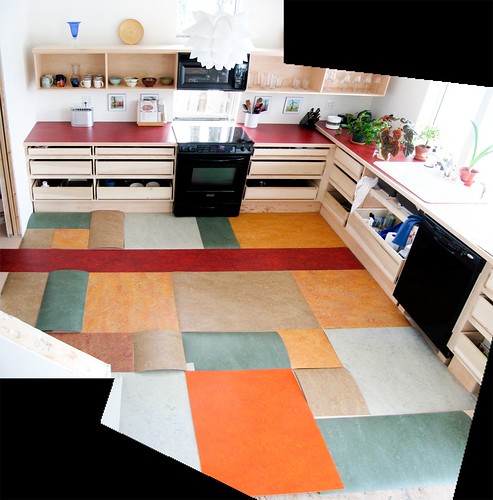
We did a lot of research before we chose this carpet. Originally we wanted hardwood, but the expense of prefinished and the laborious installation of unfinished made us look toward other choices. A lot of people dislike carpet for various reasons, but we love how cozy it makes a room feel, and we take our shoes off at home so it stays clean. At less than half the cost of hardwood, it was financially the best choice, too.
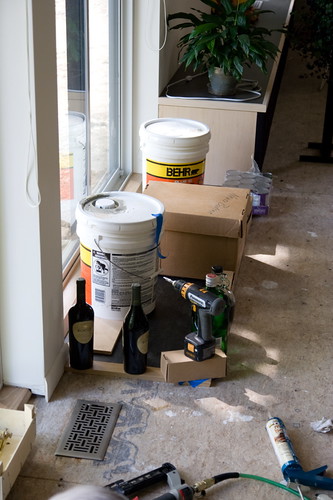
Albo’s parents have a Berber style wall-to-wall that still looks great after a dozen years, so we knew we wanted something similar. We explored several alternative fibers – “green” carpets made of recycled soda bottles, corn fiber, renewable Nylon 6, or natural wool – but unfortunately they were too expensive, or didn’t come in the durable Berber we wanted. We found a local company who steered us towards this Shaw carpet (called “Asteroid”), which can be reclaimed by the manufacturer at the end of its life cycle, will last a very long time, and has minimal offgassing. The installers used carpet pads of recycled material and tacked (rather than glued) the edges to further reduce nasty chemicals.

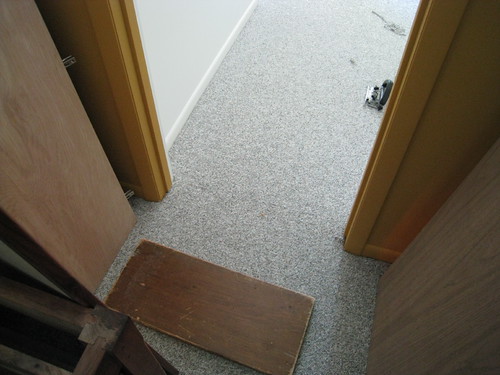
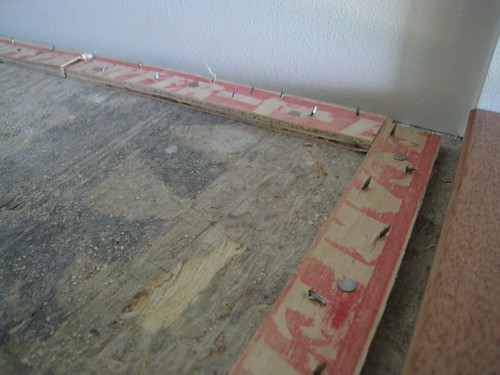
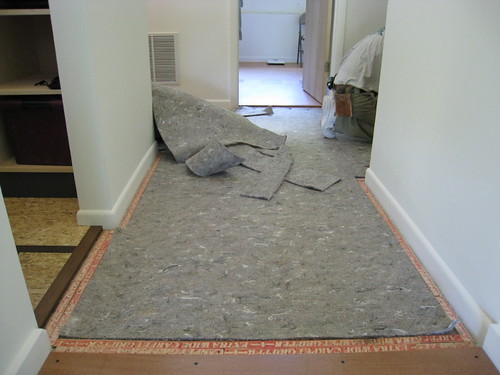
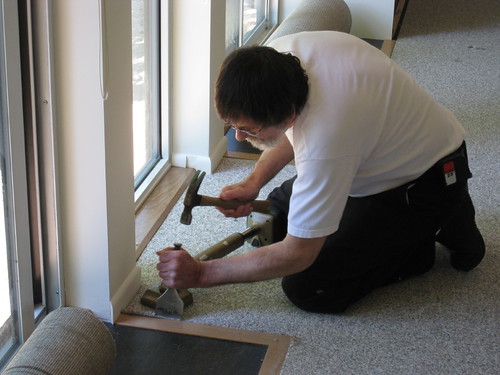
Tack tracks or whatever they’re called

Padding

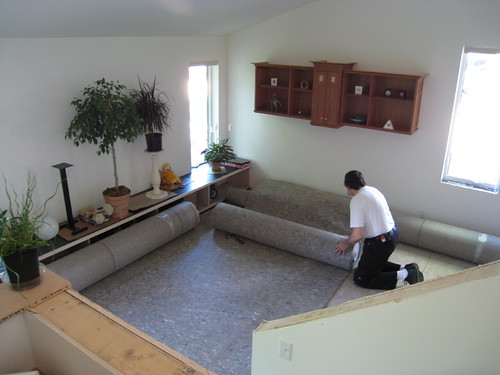

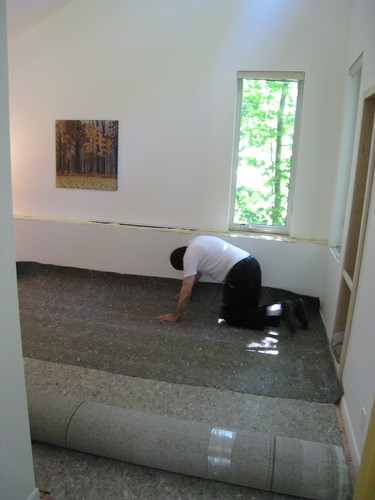
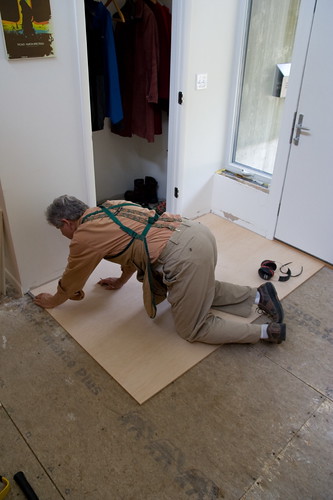
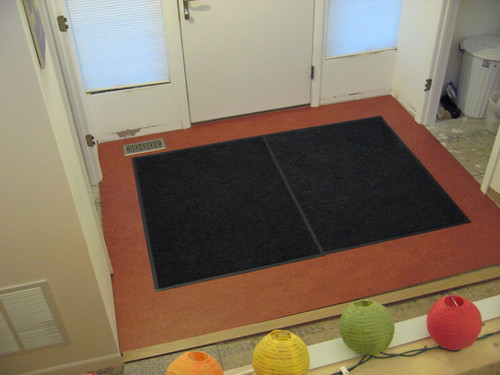
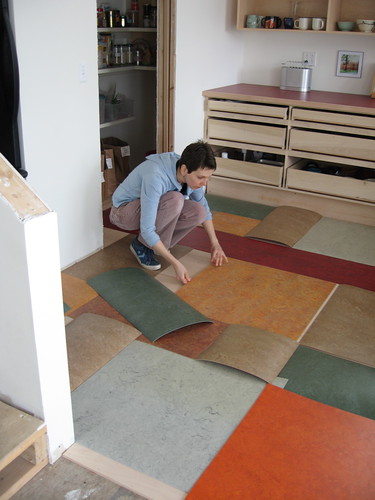
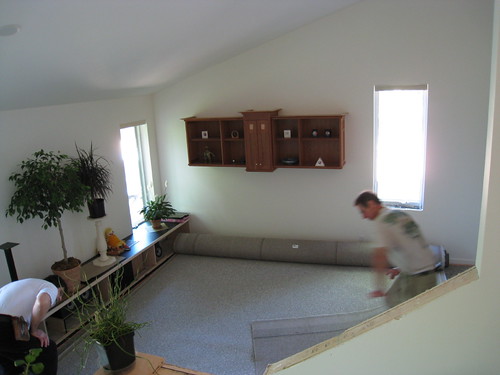
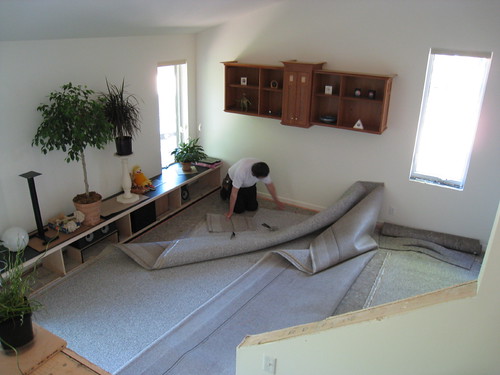
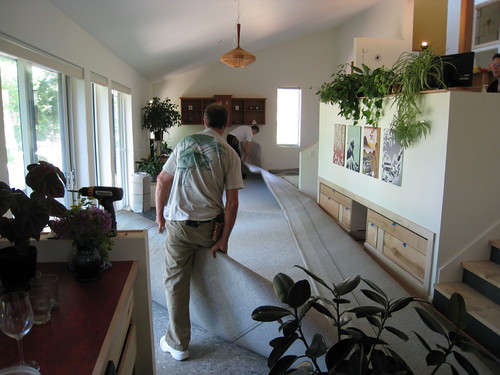
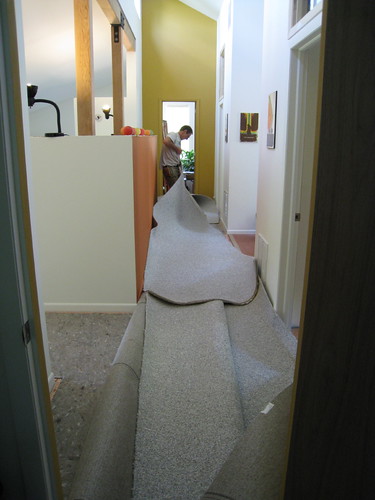
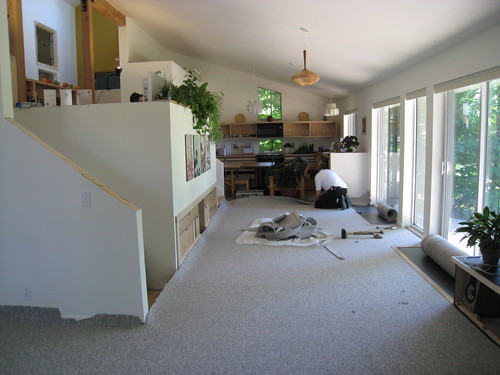
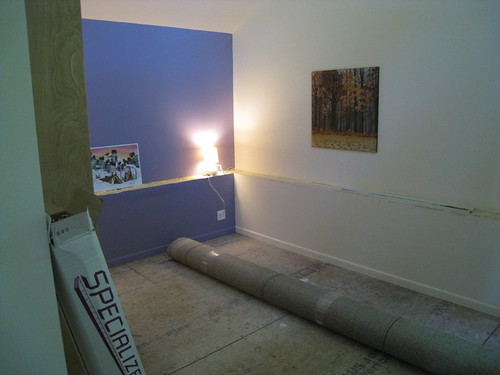
Unrolling and positioning
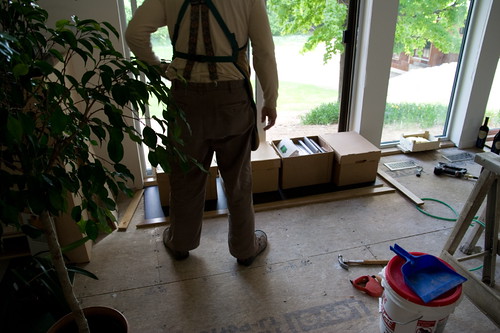
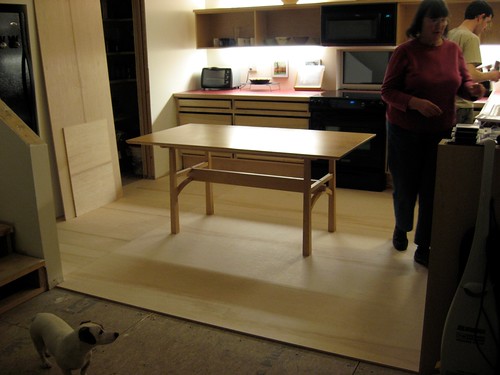
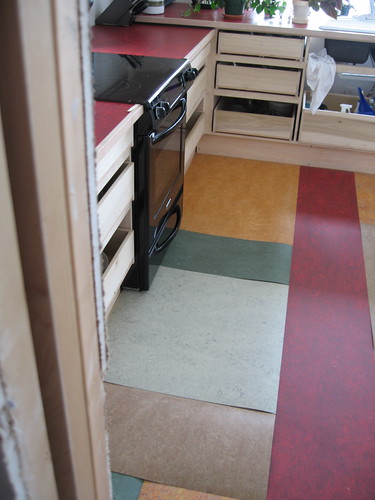
How to put everything in the kitchen

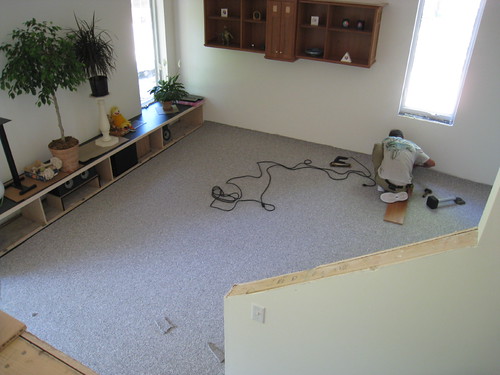
Heat seaming
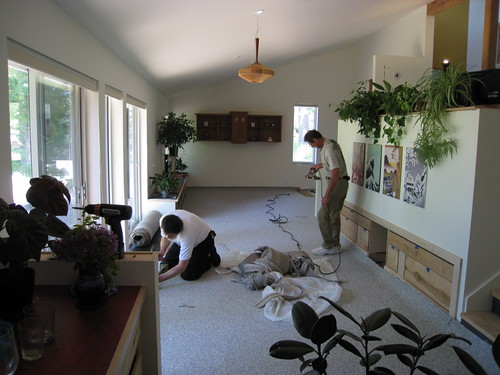
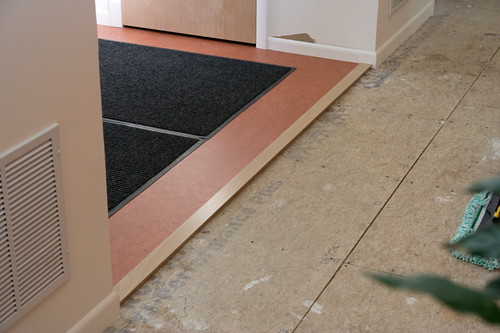
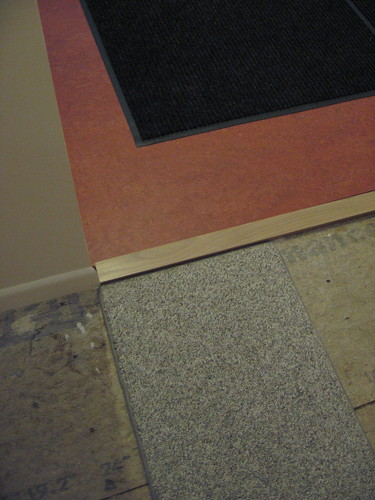
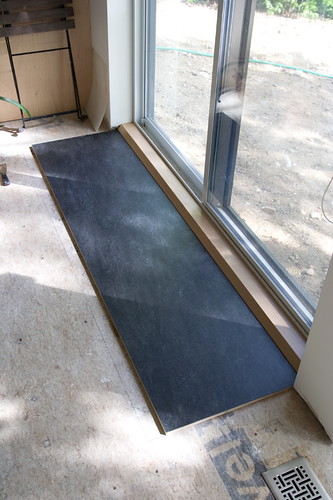
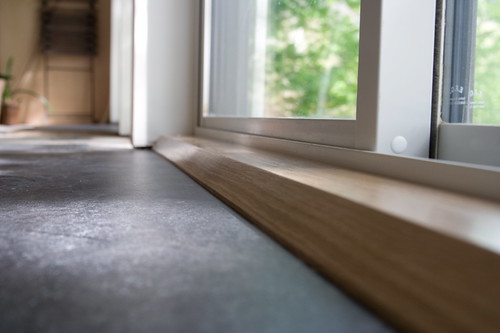
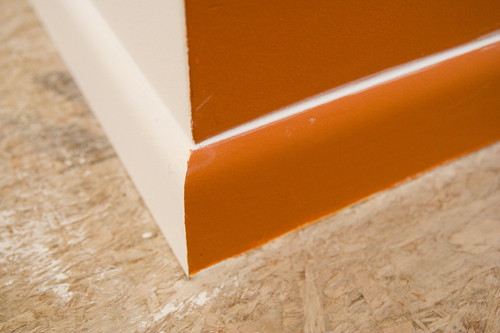
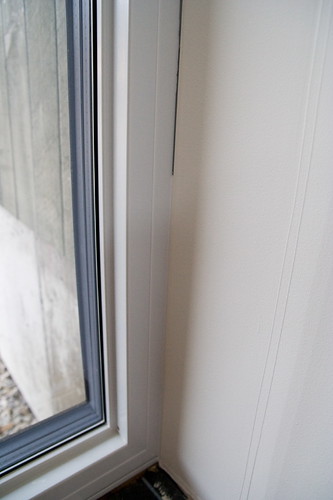
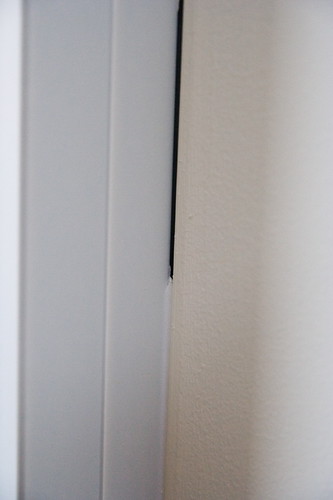
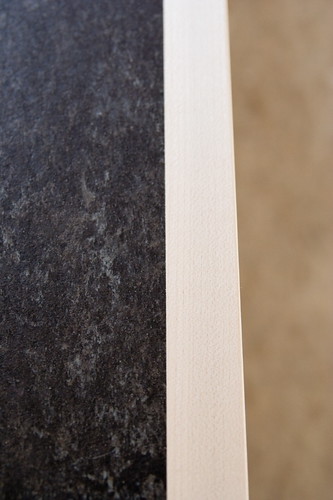
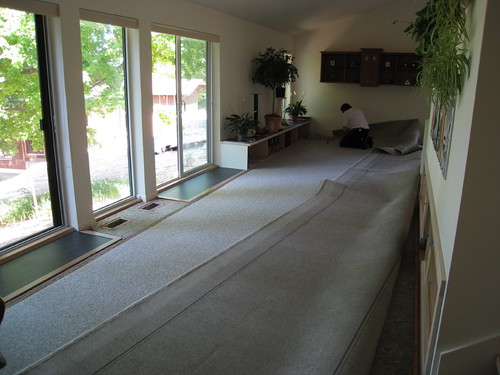
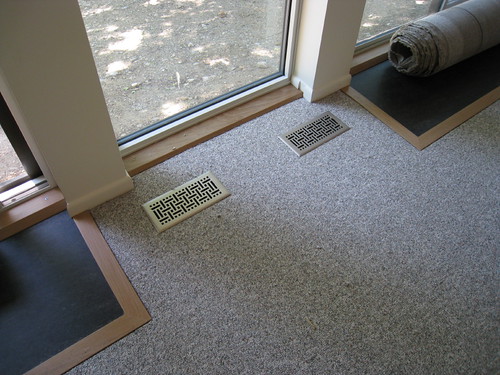
Edge finishing

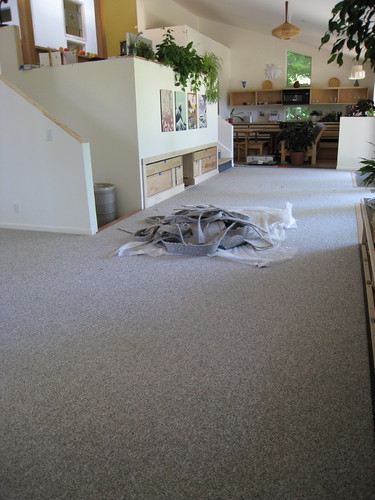
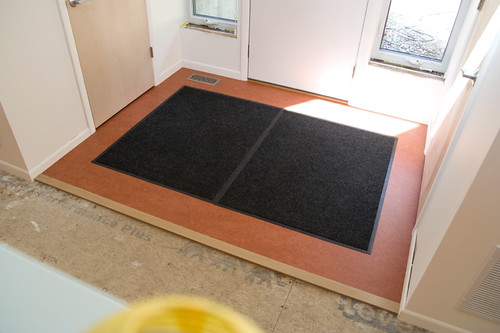
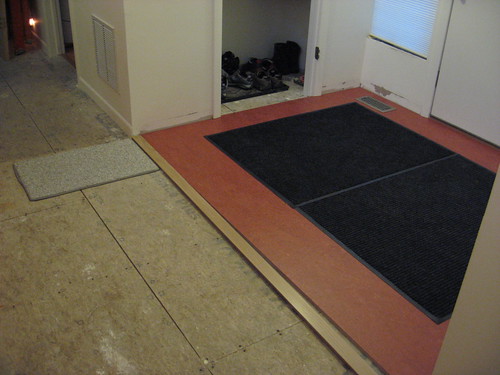
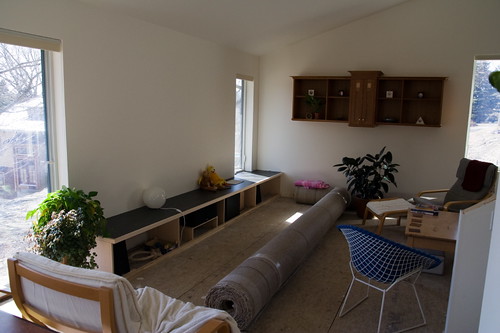
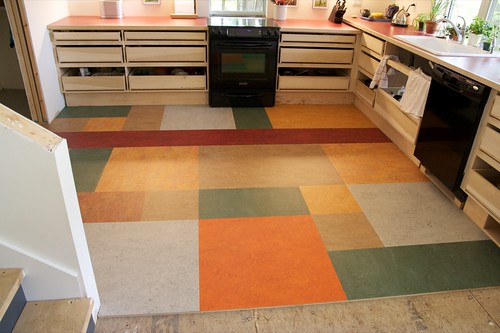
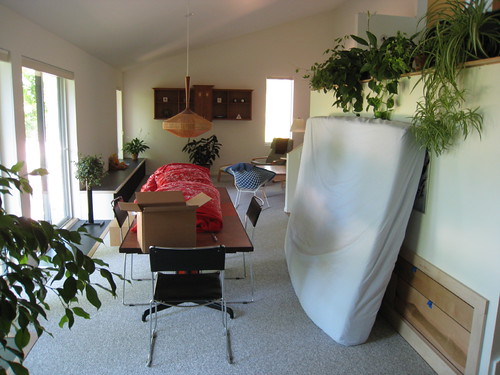
Finally seeing all the details come together
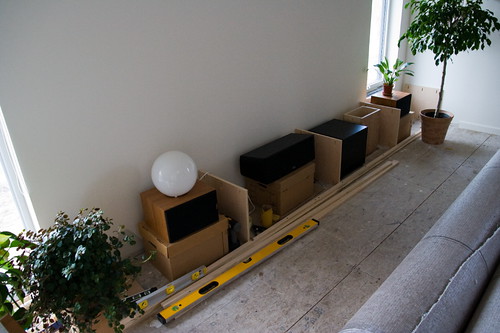
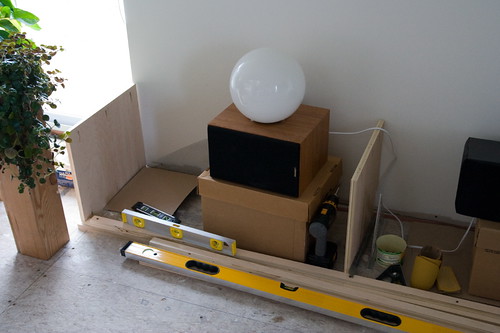
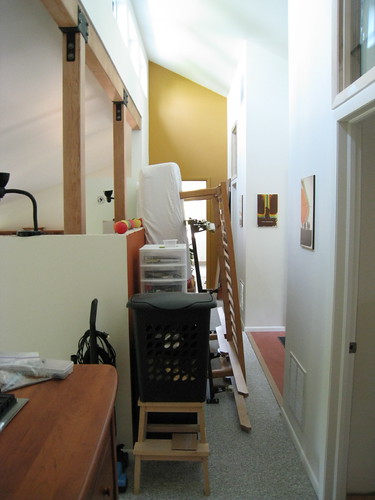
Next day was bedrooms so everything had to be moved out
Did we really live with that awful floor for 8+ months?

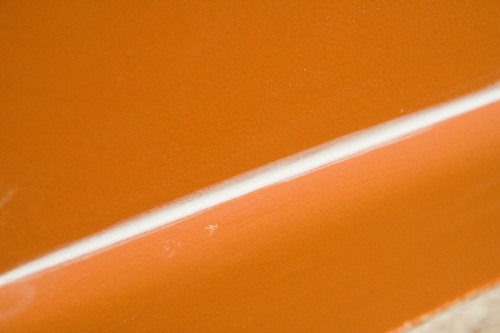
Seams very well