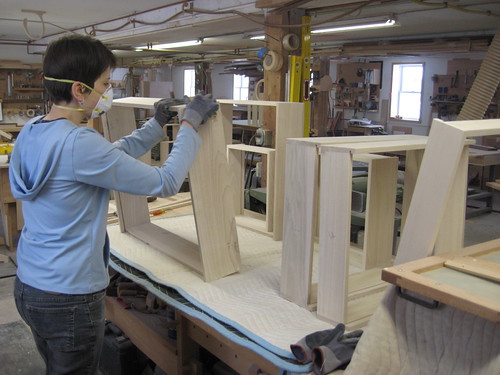
Made a small cherry and ecoresin door for the office that will allow us to wrangle the dog when we’re away from the house.
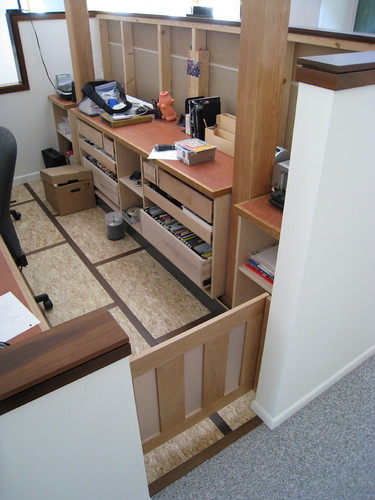
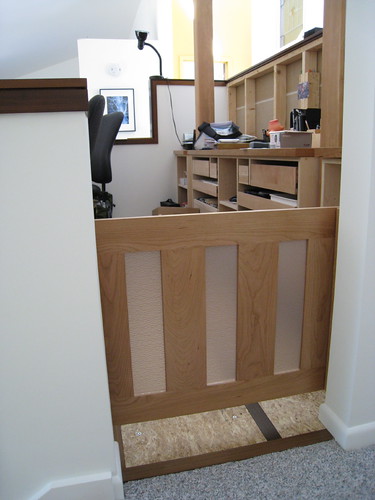
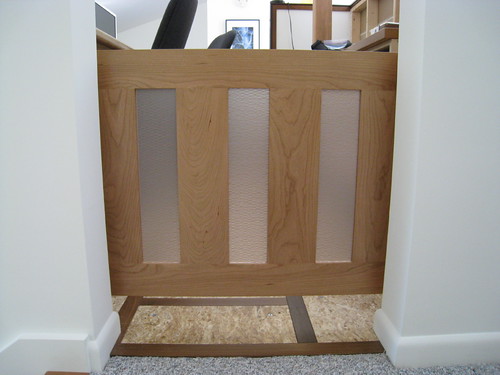
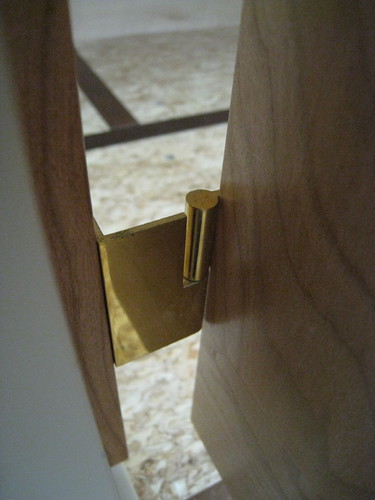
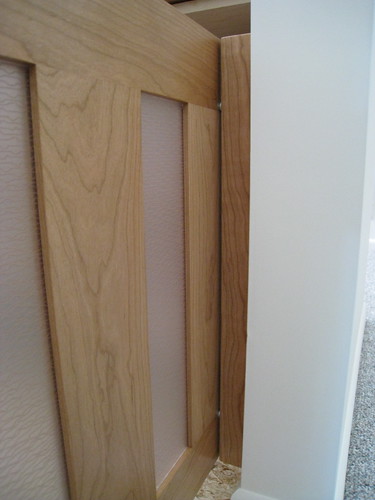

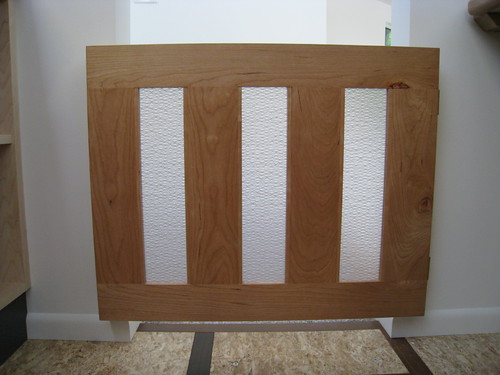

Made a small cherry and ecoresin door for the office that will allow us to wrangle the dog when we’re away from the house.
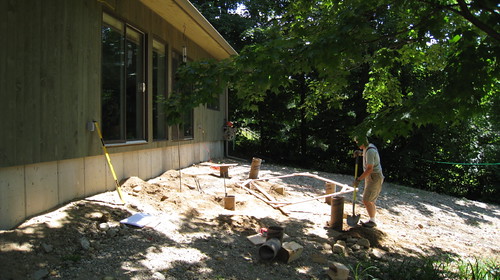
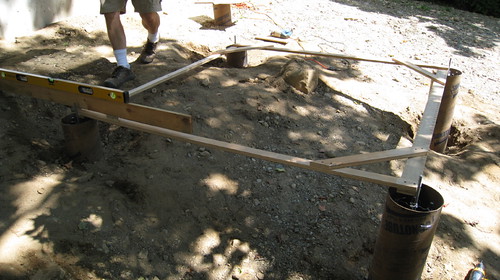
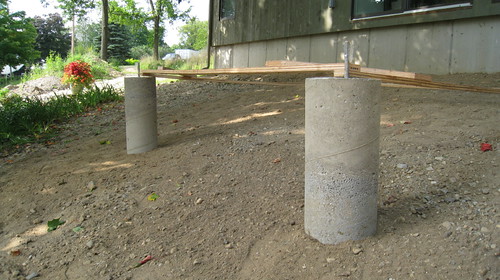
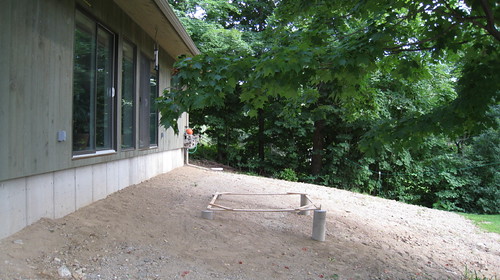
The deck design will be based on a house + deck that Dad built in the very early 80’s in California. The house itself was constructed on a single concrete pedestal, as was the deck, and though the original structure was wood, it was replaced with metal a decade ago. We actually like this better, and so we’ll be using similar square tubing, welded onsite.
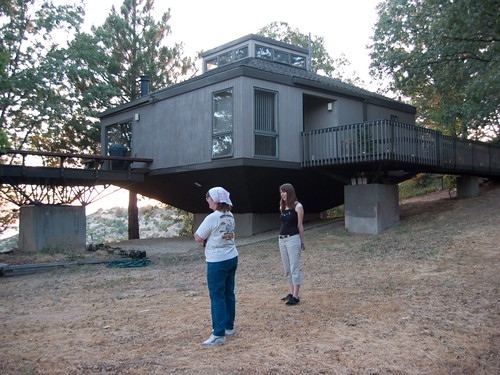
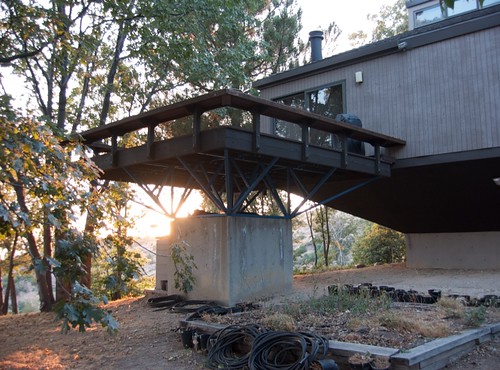
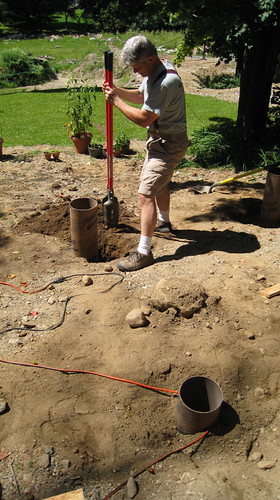
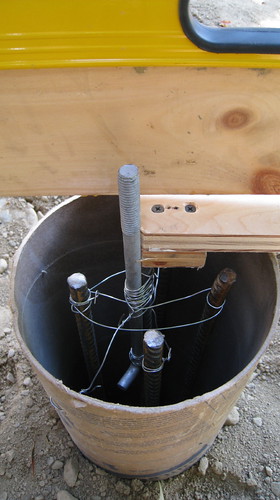
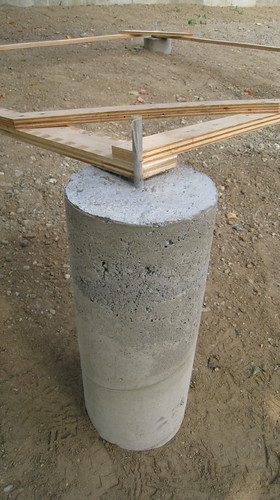
We start with the foundation, and another change from Dad’s original is shifting from a 6′ x 6′ concrete-walled pedestal, to four sono tube-based corners that the metal structure will sit on. This helps us reduce labor and concrete. In the center of the tubes is a collection of rebar to add strength, plus a j-bolt to attached the metal to.


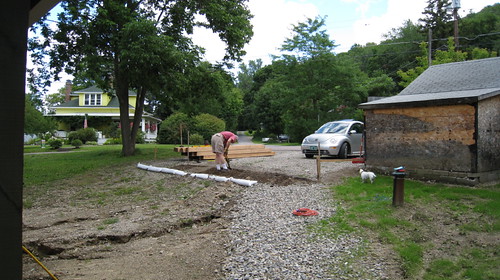
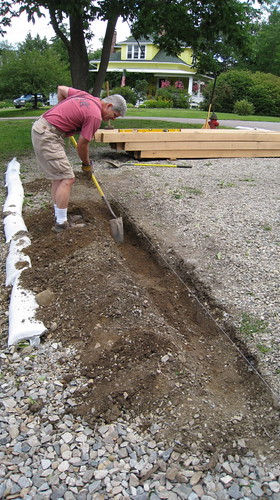
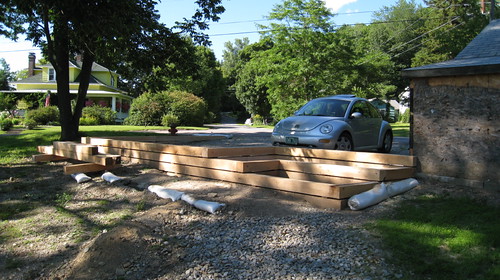
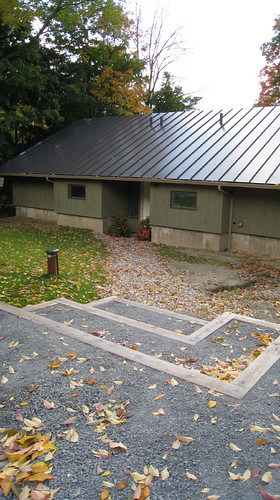
Due to the huge amount of rainfall we experienced this spring and summer, a large section of the land at the front of the house eroded away, leaving only canyons for us to look at. Water pouring down the nearby mountain, across neighboring land, would run over our temporary gravel driveway and then follow the contours of the sloping site until it reached the very bottom, some 150-200′ away.
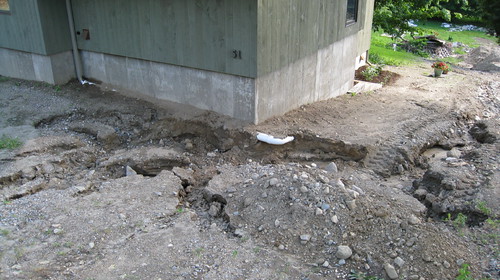
Neighbors were already up in arms about this problem (and had been for years we learned), so we decided to tackle this ourselves, doing what we could with our land and ingenuity.
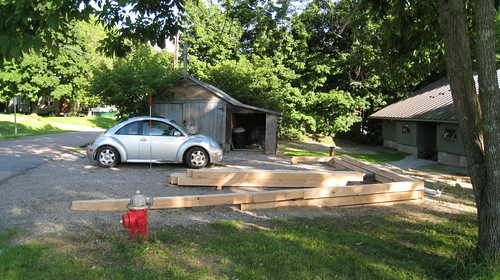
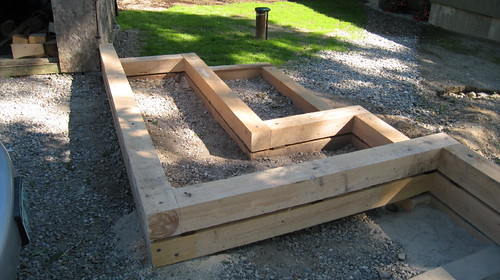
Leveling the parking area seemed like a good start, so we worked out a retaining wall design that would allow us to bring in more gravel, but also fit with the step gardens we’d built at the sides of the house a year earlier.
The wood is local hemlock, 6″ x 6″ x 12′ cut logs. It’s held together with 2′ rebar to pin it to the ground in specific places, as well as 10″ nail spikes.


First load of 2″ gravel:
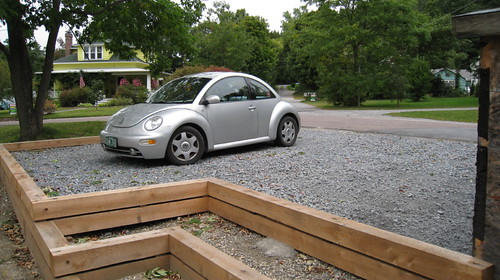
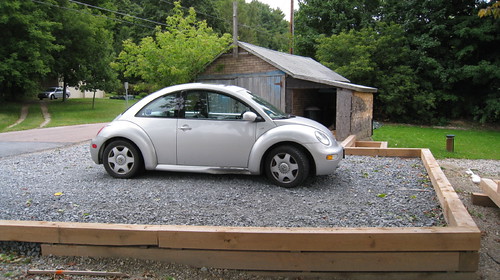
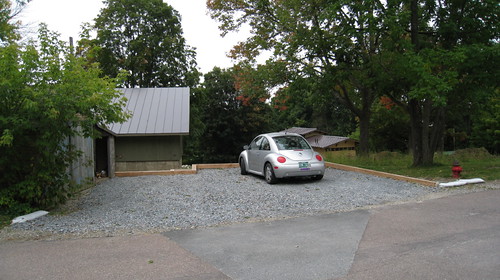
Second load of 3/4″ gravel:

Here’s what happened in two months!
Blinds

A washer and dryer

A temporary office setup

Posts in finally

Wall color

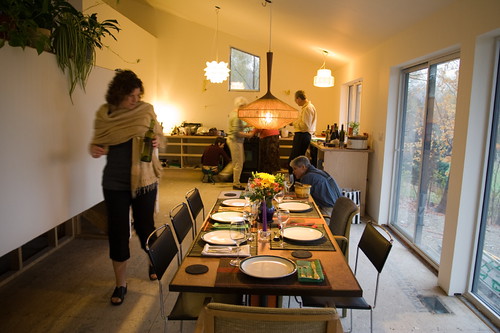
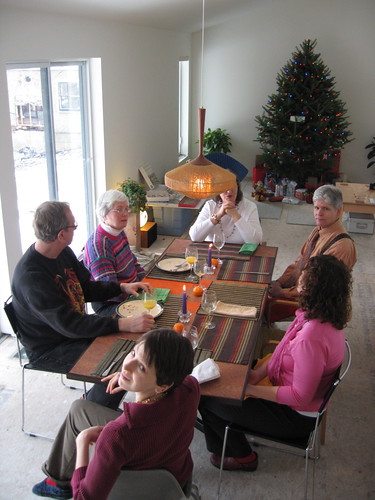
Thanksgiving dinner

Pantry shelves


Doors

Floors


Bathroom lights

Snow!

Baseboards and casing

Beauty shots
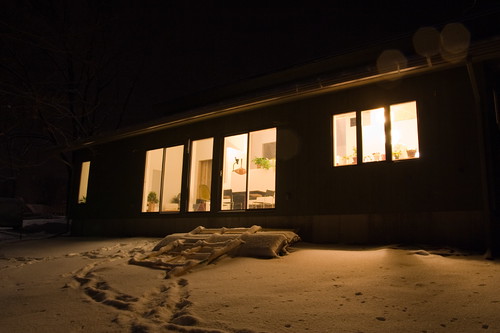
More snow!

Xmas
Lattes and creme brulee

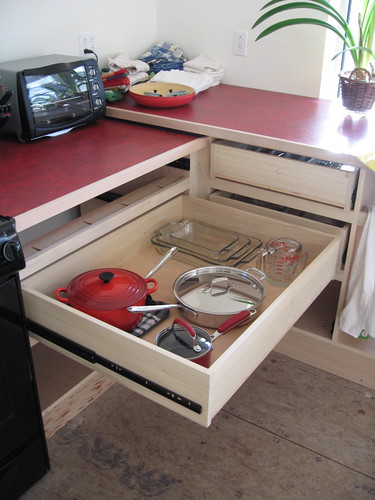
Drawers!

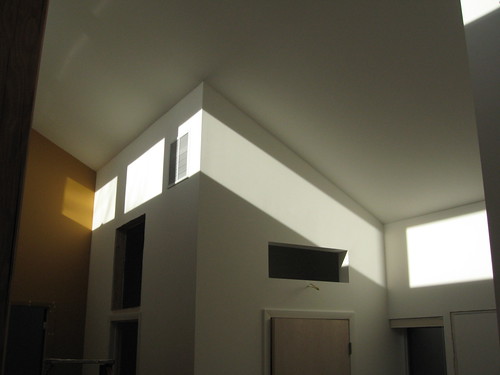
Light
and more lattes!

So now that the HRV air handler and geothermal heating system are online and doing what they do, we decided to invite a special friend to watch over them for us. He’s called TED, AKA The Energy Detective, and he’s helping us with monitor our daily, monthly and yearly electricity usage.
Here’s TED in his box…

…and here he is doing his job.

The unit uses a connection in the main breaker box of the house to relay information every second on the total amount of KW being used at any one time. Type in your utility cost per KW, and it gives you your current hourly rate.

So here the house electricity is costing me 5¢ per hour (since it’s just the HRV and a CFL or two running), but use the bathroom sink and some hot water for a little bit and it jumps to $1.50-2.00 per hour! I guess that 100amp circuit for the on-demand hot water heater is working!
This nice thing about the unit is that it will remember 13 months of data (which you may be able to pull out of it at some point with the USB connection it offers), and gives you the ability to really track your usage over time. Once you see where that energy is going, you can adjust your behavior and hopefully lower your monthly expenses.
The unit was around $155 shipped, but I felt it was justified since it gives us the ability to monitor everything in our all-electric house, at any time.
One of the many “green” advantages to living in Vermont is that a large percentage of the electricity supplied to us comes from renewable sources, a major factor in creating a fossil fuel free house.
Here’s the breakdown from our supplier, Central Vermont Public Service.

Hydro is definitely nice to have, but I know that Nuclear has a much larger stigma attached to it, even though it’s a heck of a lot cleaner than coal. The one that interested us the most however is that tiny 0.1% from CVPS Cow Power™.
It may sound silly but Cow Power is actually a great little program, and is a excellent way to support local dairy farms in this region. Basically a farm becomes an electricity supplier to the grid, using the manure that their cows produce daily – a by-product that would usually be stored as “lagoons” on nearby land. By collecting the manure and processing it, they’re making energy, reducing odor, improving water quality and providing an extra revenue for themselves – something that many to need survive as farmers.
Even though it’s similar to wind power offsets that some utility companies offer, the major benefit in our eyes is that our extra 4 cents a month actually goes towards something more tangible and “real”, and somewhere we can visit in our state!
Here’s a nice little diagram to explain it all. Click to embiggen.


Installed this weekend. Therma-Tru Smooth-Star fiberglass with multi-point lock. Color to be determined. Love it!


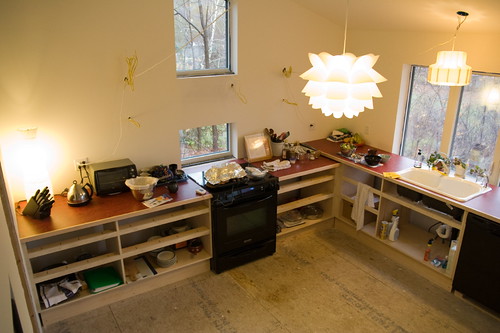
It’s been slow going, but the interior painting is now coming along nicely. Both bathrooms are done – 1 coat primer + 2 coats color – and look great. The kitchen is also finished and ready for the cabinet installs.
The rest of the house is in the priming stage, and I’m trying to put in a number of hours everyday. It’s wonderful to see it all coming together, piece by piece. Rae picked up 8 more gallons of our “off-white” today, as well as the accent wall colors, and I can’t wait to put those on this weekend.
We chose Pittsburgh Paint’s Pure Performance line which offers Zero VOC, low odor and Green Seal Class A Certification. Since we’re planning on some bold accent colors, starting with a Zero VOC base is essential because the tinting process adds VOCs, especially the darker colors.
So far the paint and primer has been excellent, with good coverage and very little odor. We’ve gone all day and not noticed any symptoms of being in close contact with the paint (headaches, nausea etc.) but we’re still getting plenty of fresh air flow through the open windows just in case.
The primer and two coats of final color did peel off around the shower however when we attempted to remove the masking tape without scoring first, showing that it hadn’t soaked in, but this was a heavily mudded part and not the drywall. Thinning the primer for these types of area may have prevented this, allowing it to soak through the plaster a bit more. A full days drying may have done wonders too, but we were impatient!
Here’s our color swatch:

And here’s the latest gallery of painting progress:
[pictobrowser 46448896@N00 72157602579388441]
Vermont is amazingly beautiful this time of year…
[pictobrowser 46448896@N00 72157602579020765]