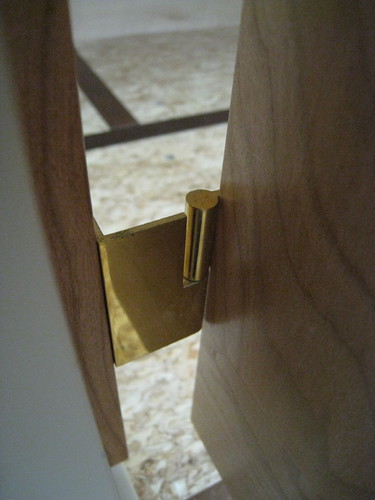
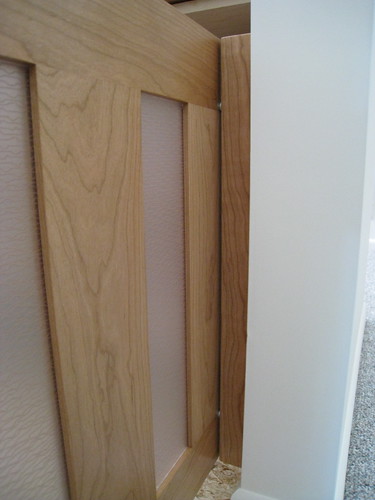
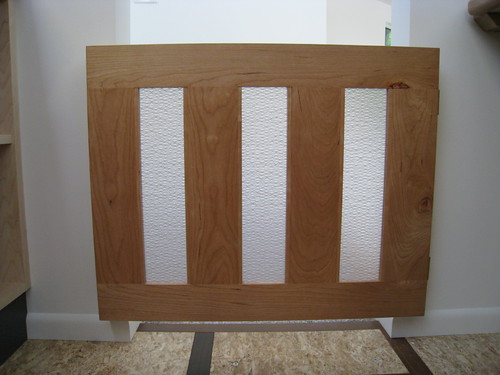
Made a small cherry and ecoresin door for the office that will allow us to wrangle the dog when we’re away from the house.
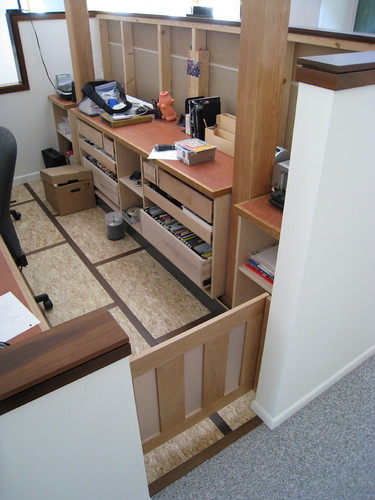
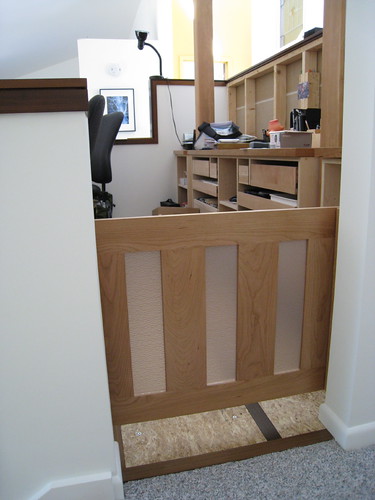
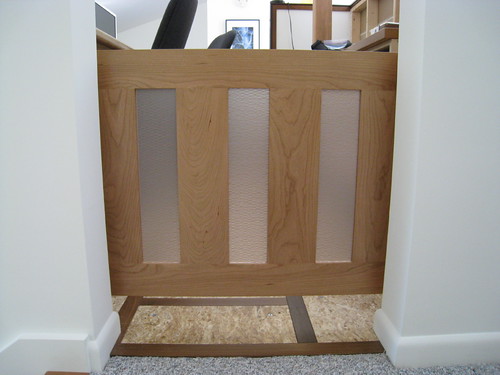


Made a small cherry and ecoresin door for the office that will allow us to wrangle the dog when we’re away from the house.
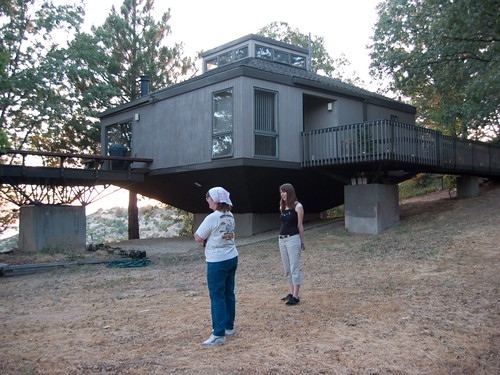
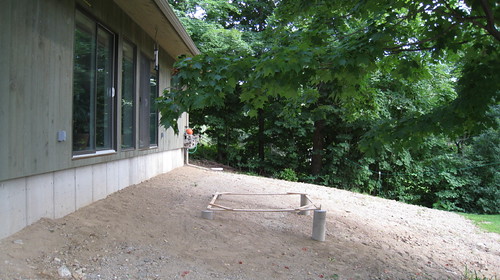
The deck design will be based on a house + deck that Dad built in the very early 80’s in California. The house itself was constructed on a single concrete pedestal, as was the deck, and though the original structure was wood, it was replaced with metal a decade ago. We actually like this better, and so we’ll be using similar square tubing, welded onsite.
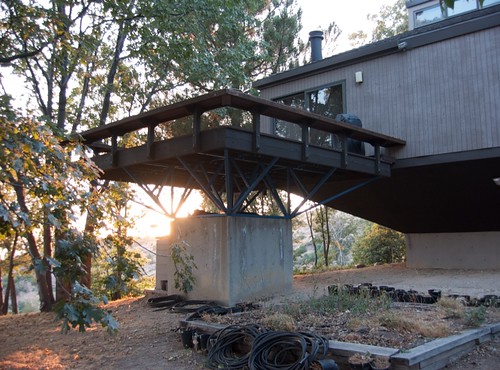
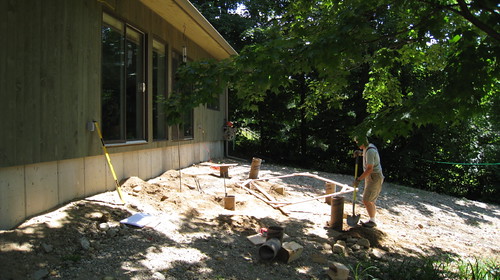
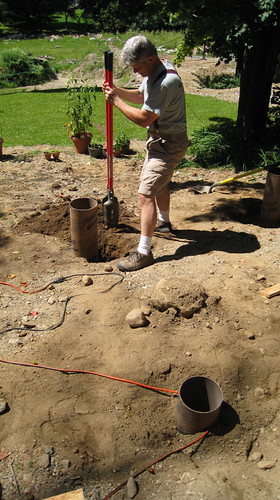
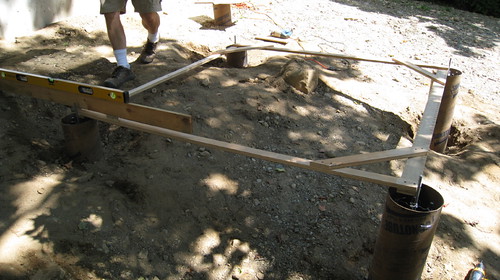
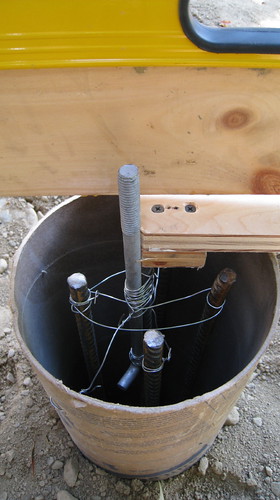
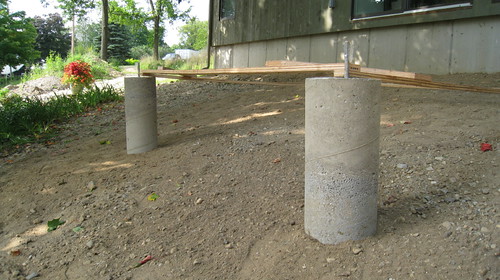
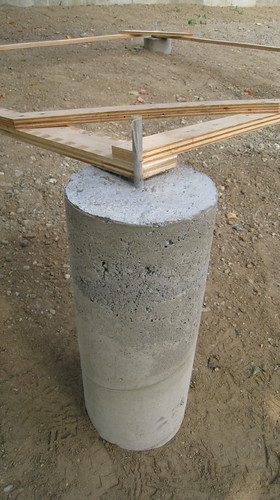
We start with the foundation, and another change from Dad’s original is shifting from a 6′ x 6′ concrete-walled pedestal, to four sono tube-based corners that the metal structure will sit on. This helps us reduce labor and concrete. In the center of the tubes is a collection of rebar to add strength, plus a j-bolt to attached the metal to.


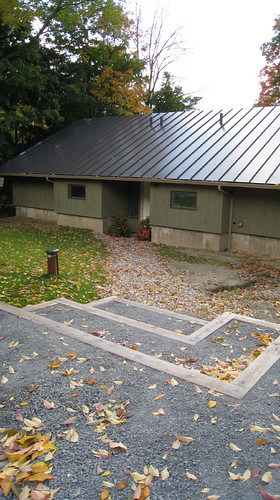
Due to the huge amount of rainfall we experienced this spring and summer, a large section of the land at the front of the house eroded away, leaving only canyons for us to look at. Water pouring down the nearby mountain, across neighboring land, would run over our temporary gravel driveway and then follow the contours of the sloping site until it reached the very bottom, some 150-200′ away.
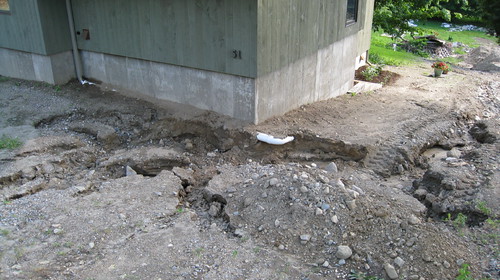
Neighbors were already up in arms about this problem (and had been for years we learned), so we decided to tackle this ourselves, doing what we could with our land and ingenuity.
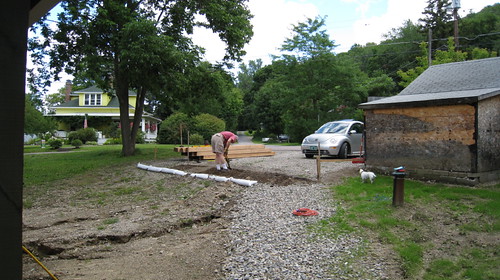
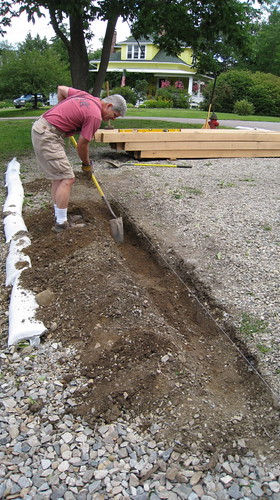
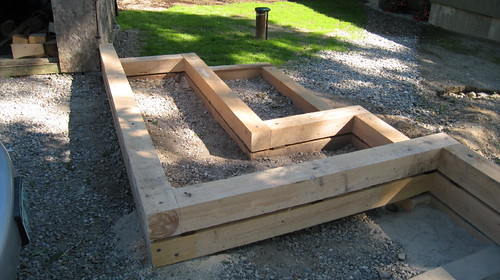
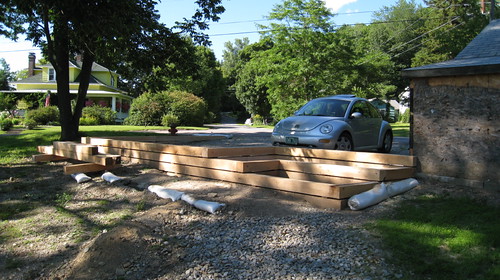
Leveling the parking area seemed like a good start, so we worked out a retaining wall design that would allow us to bring in more gravel, but also fit with the step gardens we’d built at the sides of the house a year earlier.
The wood is local hemlock, 6″ x 6″ x 12′ cut logs. It’s held together with 2′ rebar to pin it to the ground in specific places, as well as 10″ nail spikes.


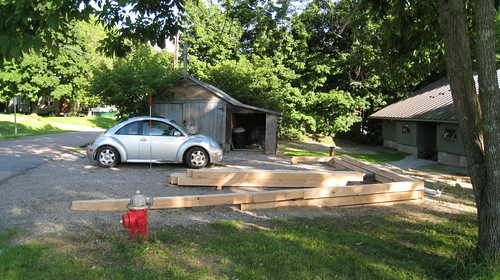
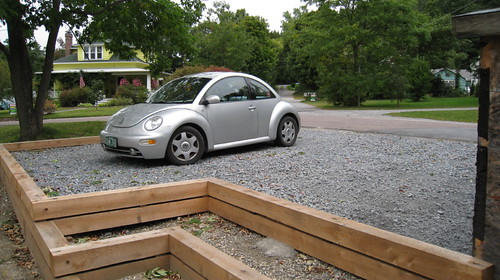
First load of 2″ gravel:
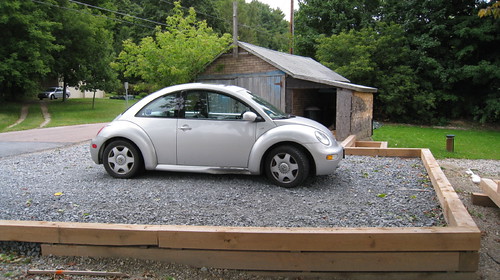
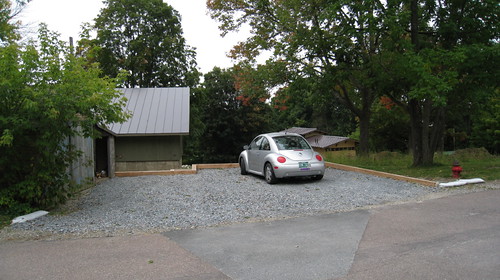
Second load of 3/4″ gravel: